Ever feel like you’re giving it your all but still not getting that smooth, saturated look in your colored pencil drawings? You may already have the right supplies for the job, but they just don’t seem to work properly, so you feel stuck. Or, you may have learned some advanced blending techniques but plateaued since then.
The truth is, learning to realistically draw with colored pencil isn’t easy. There are a lot of moving parts and it’s easy to make mistakes, especially in the beginning.
In this post, I’m sharing 5 of the biggest colored pencil blending mistakes most people make. My hope is that these will help you avoid hours of trial and error, so you can fast-track your art growth.
These are the 5 most common blending mistakes newer artists make
- Using messy pencil application
- Using a heavy hand too early on and flattening out the paper tooth
- Working with a dull pencil point
- Calling the drawing finished too soon
#1. Using messy pencil application
This is an easy mistake to make when you’re working in a slow medium like colored pencil, and you want to speed up the process. Scribbling actually feels natural for most people, but its the fastest way to fill your entire drawing with harsh and uneven lines that are impossible to blend out The problem with scribbling is that no amount of scribbling will eventually get you a smooth result. With colored pencil, you need to use precise technique when applying the color, especially the initial layers.
How to solve it:
There are a few ways you can tackle this one:
- Keep your pencil sharp and work slowly in little ovals and circles
- Use Solvent. You still need good technique but the solvent will help blend out your colors a bit faster
- Keep your layers light and build up the color as you go, making sure the paper has a good buildup of pigment
#2: Pressing too hard with the pencil (burnishing)
I get it! Pushing hard with that pencil is tempting especially when you’re getting lots of pigment on there a lot quicker! Burnishing is a blending method for sure, and I use it, but I use it strategically! You’re essentially flattening out the texture of the paper, making it impossible to add additional layers on top! Now, I love burnishing, but it’s only at the end of a drawing where I’ll burnish everything, because I know I won’t be adding more pigment on top
How to solve it: If you’ve burnished too soon,
- Go over the area with solvent. This will help get rid of some of the excess pigment
- Use an ink eraser to erase some of the pigment. It’ll bring back the texture of the paper a bit, so you can keep working on it
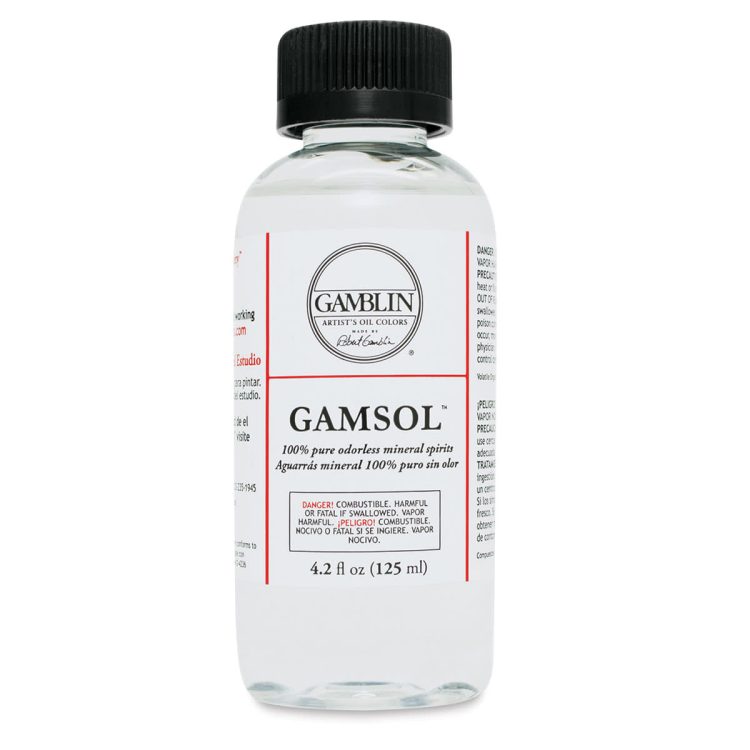
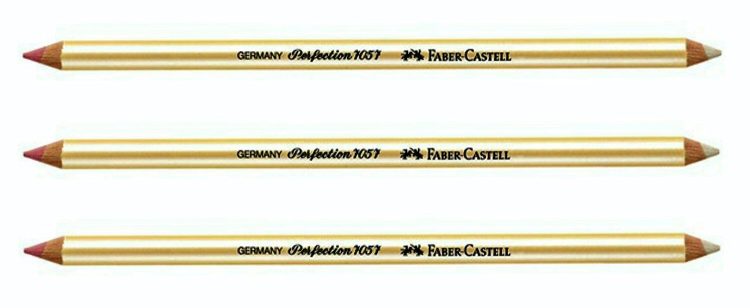
I love solvent and use it in all of my work. This is the brand I use and its amazing! The pencil is the ink eraser, and it’s rough so it’ll erase some of the pencil on the area that needs to be fixed and bring back a bit of the texture so you can work over it a bit more! Links for both are below the images
 |
 |
- Gamsol Odorless Solvent by Gamblin
- Faber Castell Perfection Eraser
#3: You’re using a dull pencil point
You need that pencil sharp so it’ll get into all the nooks and crannies of the paper! I know, it’s tempting to work with a dull point because you don’t want to waste the pencil But, by working with a dull point, the pencil is only hitting the top of the tooth of the paper, resulting in a grainy appearance
How to solve it:
Work on paper with less texture (I like a vellum finish for my colored pencil papers).
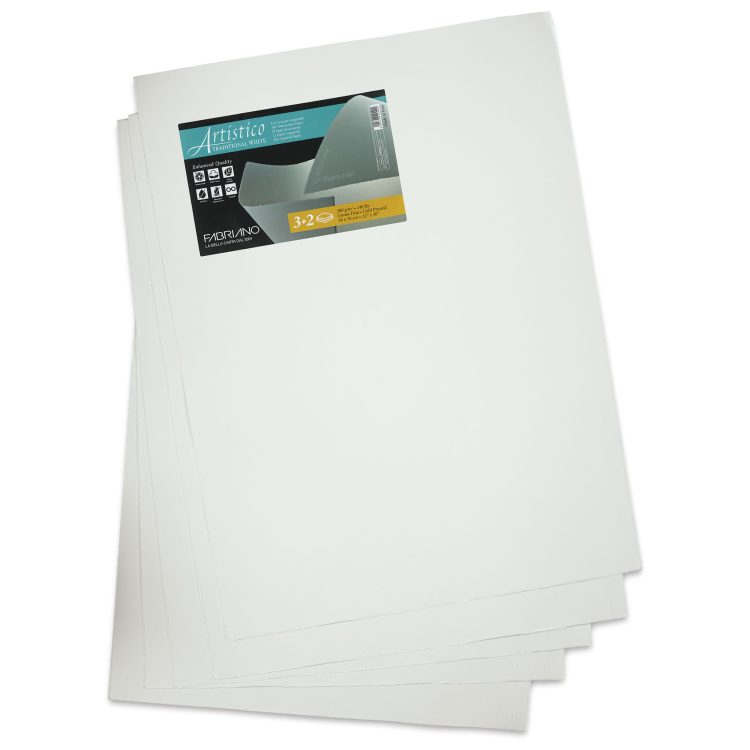
If you’re someone who likes to use watercolor paper (I’ve used this before too), make sure you get the hot pressed watercolor paper. Cold pressed is just too textured. For watercolor papers, I recommend the Arches Hot Pressed Watercolor Paper or the Fabriano Artistico Extra White Watercolor Paper.
 |
 |
Here’s what I do: My favorite paper is Strathmore 500 Series Mixed Media Board. It’s textured enough where I can get enough layers, but smooth enough where I don’t end up with a grainy appearance.
Check it out here, and if you use it, tag me on Instagram so I can check out your drawin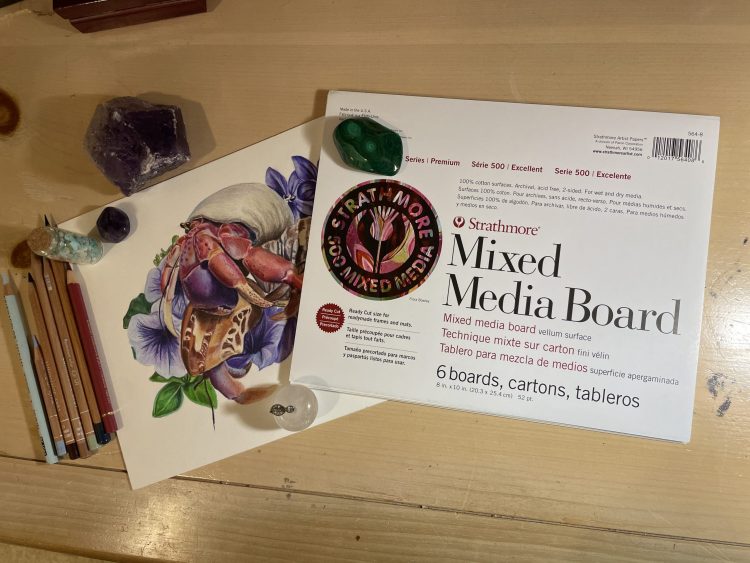
Buy on DickBlick.com
#4. Rushing and calling the drawing finished too soon
Not enough layers:
This is the most common. Just because the paper has pencil on it doesn’t mean it’s finished. I generally have at least 7 layers on any given area at minimum. If you’re using a light hand and you’re using the right type of paper, you should be able to get a ton of layers on there. Layer until it looks good
Your edges are fuzzy.
This depends on what you’re working on. A blurry background such as a sky will require fuzzy edges. But if you’re working on something such as an animal or human portrait, there will be areas where you need crisp detail. The best pencils for tight detail are the Faber Castell Polychromos pencils. I use my black and indigo blue all the time on edges where I need crisp lines
The drawing doesn’t have enough contrast.
I could seriously write an entire post on this alone, because contrast is the key to realistic drawings. If your drawing looks dull, it needs more contrast.
Wrapping it up
If you’ve been making these mistakes with colored pencil blending, it’s not your fault. There’s a lot of misinformation out there, especially when it comes to art. Once you’re aware of them, you can start making the changes you need to start pumping out amazingly realistic colored pencil drawings. In fact, by reading this post you’ve just taken a huge step toward doing that. High-five!
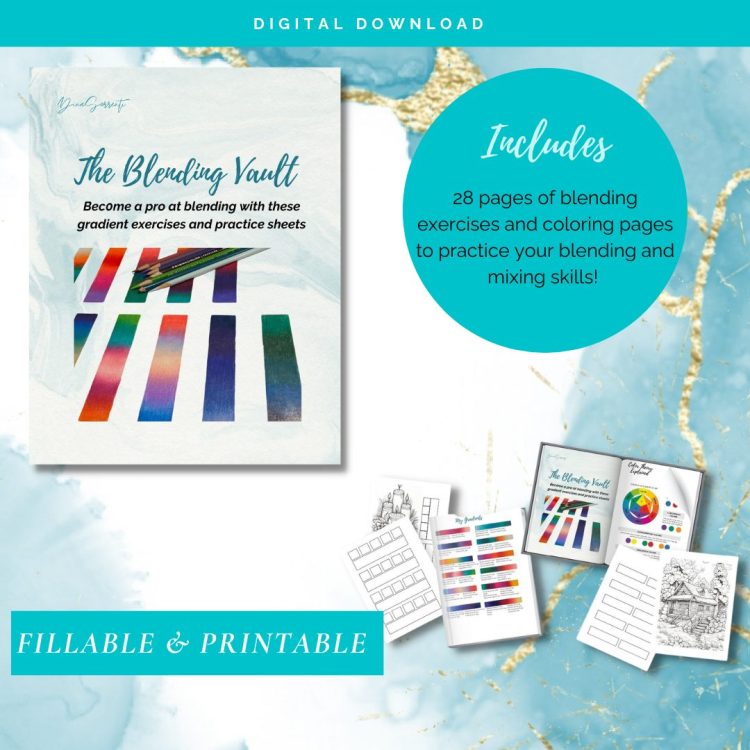
Even more, I’ve created this workbook for you to practice your blending skills! I’ve even provided the colors I used in my examples. The book is interactive, and PRINTABLE, so print the exercises out on your own art paper!